


")
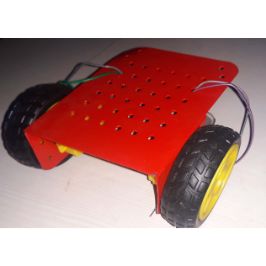
The line follower robot is an automated vehicle that follows a visual black line or path on the surface. This visual line is a path on which the line follower robot moves.
It uses a black line on a white surface, or you can also adjust it as a white line on a black surface as per your need.
A Line Following Robot is a popular robotics project that involves building a robot capable of autonomously following a line on the ground. It’s a great way to learn about sensors, control systems, and programming. A 4WD (Four-Wheel Drive) version of the line following robot offers improved traction and manoeuvrability. Here’s an overview of how to approach this project:
Certainly! Building a Line Following Robot with a 2WD (Two-Wheel Drive) configuration is a slightly simpler version compared to the 4WD variant. Here’s a brief guide on how to approach this project:
Components Needed:
1. Chassis with two-wheel drive capability.
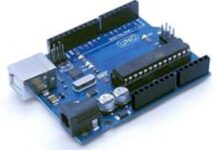
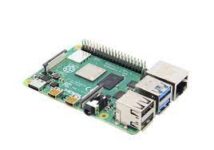
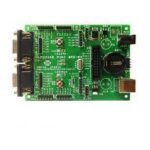
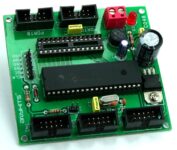
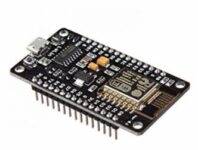
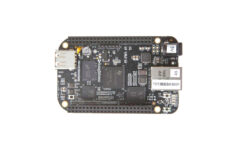
2. Microcontroller board (Arduino, Raspberry Pi, etc.).
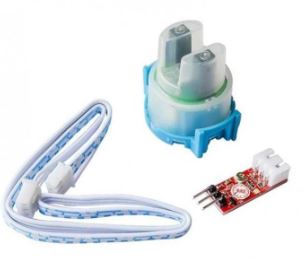
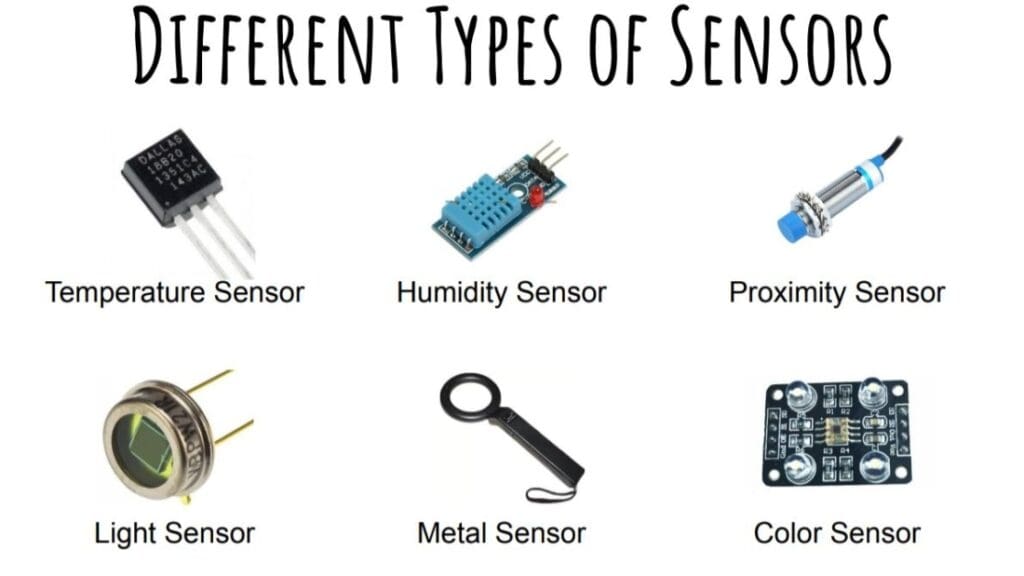
3. Infrared (IR) line sensors or reflectance sensors.
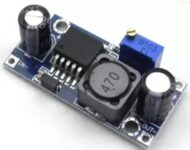
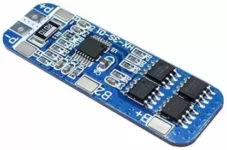
4. Motor drivers (if not integrated into the chassis).
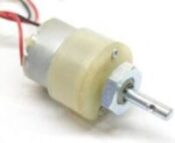
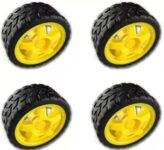
5. Wheels and DC motors.
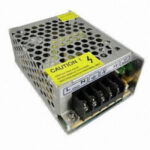
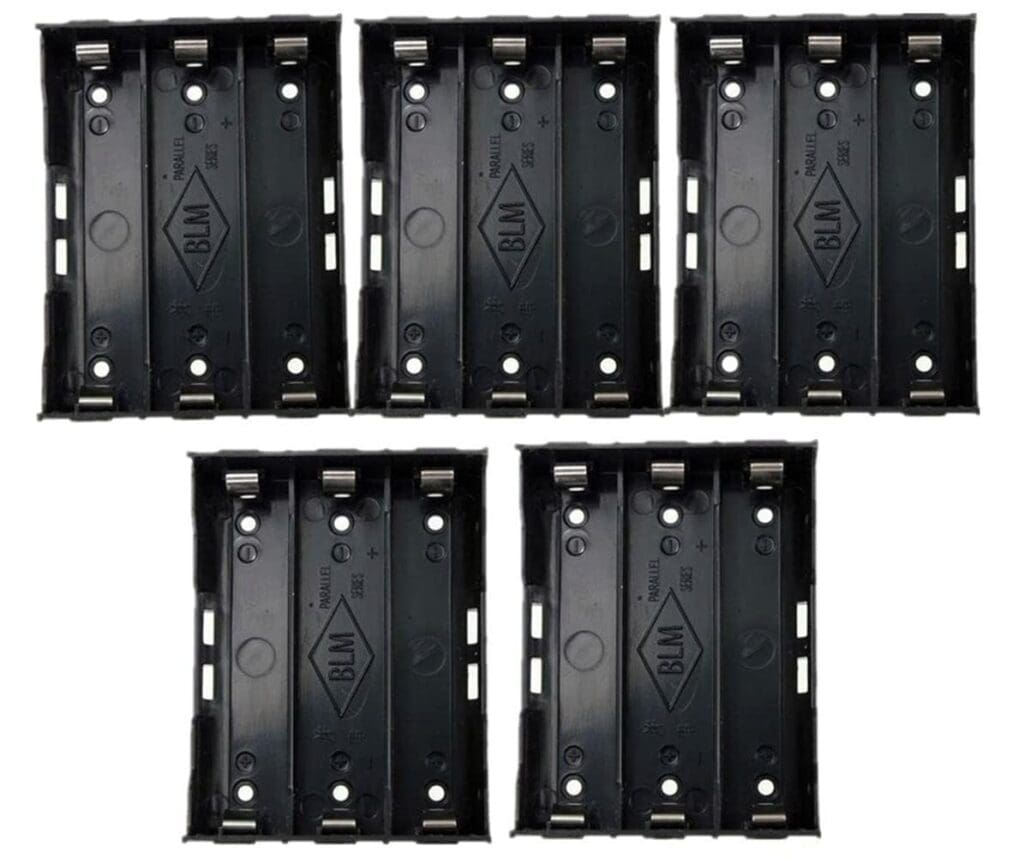
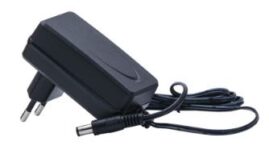
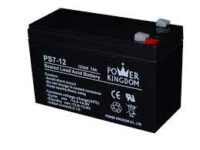
6. Power source (batteries).
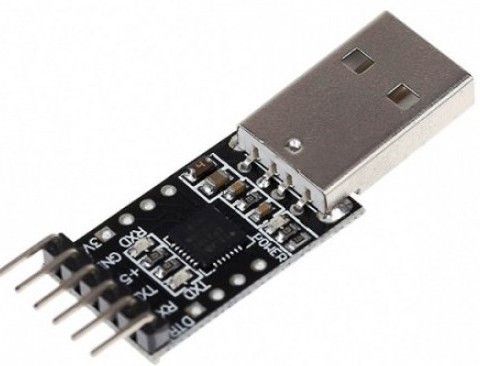
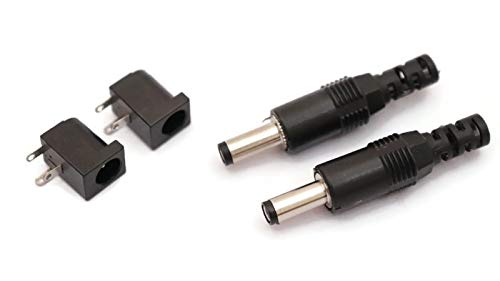
7. Jumper wires and connectors.
8. Optional: Castor wheel for stability.
Steps to Build:
1. **Assemble the Chassis:**
Start by putting together the 2WD chassis. This typically involves attaching the wheels and motors to the main body of the robot.
2. **Install Motors and Wheels:**
Attach the DC motors to the chassis and connect them to the motor drivers if not integrated. Securely attach the wheels to the motor shafts.
3. **Mount Line Sensors:**
Attach the IR line sensors to the front of the chassis, just like in the 4WD version.
4. **Connect Electronics:**
Connect the motor drivers to the microcontroller board. This usually involves connecting the control pins of the motor driver to the microcontroller’s GPIO pins.
5. **Power Supply:**
Connect the battery or power source to the robot, ensuring it can provide sufficient power for both the motors and electronics.
6. **Coding:**
Write the code that will enable the robot to follow the line. This code will involve reading sensor data, making decisions based on that data, and controlling the motors accordingly.
7. **Line Following Algorithm:**
Implement a line-following algorithm, such as a simple “bang-bang” controller or a PID controller, depending on the complexity you want to achieve.
8. **Calibration:**
Calibrate the line sensors and fine-tune the algorithm to ensure smooth line following under various conditions.
9. **Testing and Refinement:**
Test the robot on a line-following track and make necessary adjustments to the code and algorithm to improve its performance.
10. **Optional Enhancements:**
If desired, you can add additional features such as speed control, obstacle detection, or remote control via Bluetooth or Wi-Fi.
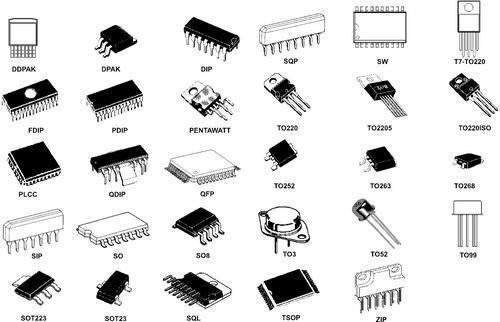
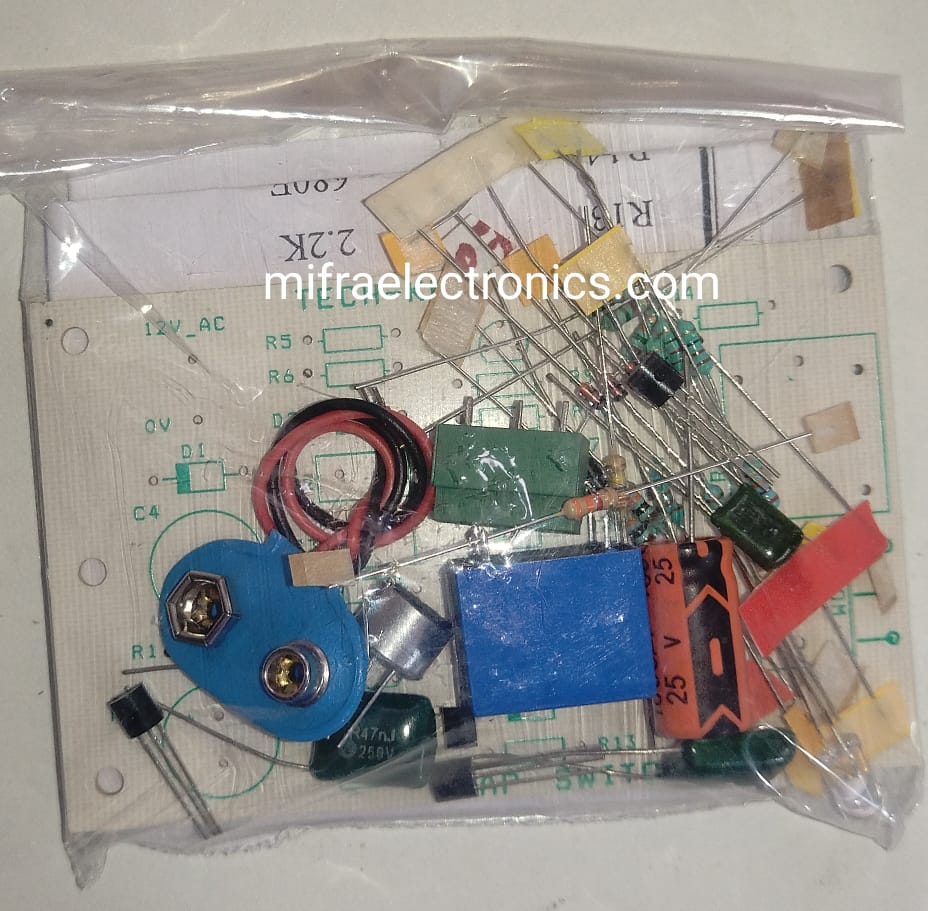
* Product Images are shown for illustrative purposes only and may differ from actual product.
Package Includes :
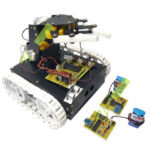
- 1 x Line Following Robot (4WD) Project.


Reviews
There are no reviews yet.