


Arduino with Servo
There are many beginners suffering from the basics of Arduino. Servo motor interfacing with arduino So I decided to start a series of articles discussing about basics of Arduino programming. Many of students and hobbyists have a very good interest in electronics. And they drop their interest because of programming.But the true fact is Arduino programming very simple. We need to understand the every line of code and it’s use.
In this article I am using only one Servo Motor. The Code is only for one Servo. For multiple Servos the code may change. If you understand this code you will able to control multiple servos.
Buy electronic components with free shipping on
Arduino IDE is a great tool to develop the code and uploading the code to Arduino Board.
Step – 1
If you already know the installation of Arduino IDE or have the Arduino IDE, please skip this step.
Download the leatest Arduino IDE Software from here.
After the installation of Arduino IDE open it.
Step -2
In this project we need to use a library named “Servo.h”. This is a inbuilt library with Arduino IDE.
There is two way to include a library
Go to Sketch>Include library>Servo
OR
Just type #include<Servo.h>
#include<Servo.h>Step -3
Next we need to declare a integer type variable. Now I am using the variable named as “pos”. This variable can only hold integer values.
Step – 4
In the declaration part, we need to declare another variable. Here I am using the variable name as “Myservo”. You can also use any other names. This variable is used to connect the corresponding servo to the entire code. Here we using the keyword “Servo”. The syntax is “Servo variable_name”. The code is look like,
Servo Myservo;Step – 5
Every Arduino program is consist of a “void setup()” function and “void loop()” function. When we turn on the Arduino the functions/statements in “void setup()” will work first and it will work once. After that the functions/statements in void loop() will work like a loop.
We need to set the signal pin of servo motor to Arduino pin In the “void setup()”. In the clear voice, Here we are declaring which pin of Arduino to control the servo motor. Here we are using Digital Pin 3 of Arduino to control the servo motor.
Here we using the keyword attach(). The syntax is “variable_name.attach(pin_number)”. The code is look like,
Myservo.attach(3);Step – 6
Let discuss about the servo control statement. The keyword is “write()”. and the syntax is “variable_name.write(pos)”. We can either use a variable or number which is in between 0 and 360 in write function.
Myservo.write(pos);Step – 7
Now we need set a loop function. Here we are using “for()” loop to control the servo motor. In for() loop, set the minimum value is 0. ie. (.pos=0) and maximum value is 180. ie. (pos<=180). Then incriment the pos ie.(pos++). Then implement the write function(function in Step-6) in the for loop. Then add a delay function. This delay function help to waits 15ms for the servo to reach the position.
for(pos=0;pos<=180;pos++){
Myservo.write(pos);
delay(15);
}
Step – 8
Then add another delay function after the for() loop. This delay function for wait a corresponding time(which is included in delay function) after above for loop.
delay(1000);Step – 9
Now we need set another loop function. Here we are using “for()” loop to control the servo motor. In for() loop, set the minimum value is 180. ie. (.pos=180) and maximum value is 0. ie. (pos>=0). Then decriment the pos ie.(pos–). Then implement the write function(function in Step-6) in the for loop. Then add a delay function. This delay function help to waits 15ms for the servo to reach the position.
for(pos=180;pos>=0;pos--){
Myservo.write(pos);
delay(15);
}
Step – 10
Then add another delay function after the for() loop. This delay function for wait a corresponding time(which is included in delay function) after above for loop.
delay(1000);The code is completed. The complete code is given in the software part.
Type the whole code and double check for errors. Then Upload (The arrow button on top) the code to Arduino Board.
Please don’t copy-paste my code. Make your own. “DON’T BE AMUL BABY!!!!!”
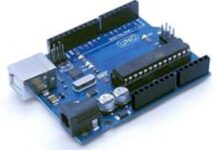
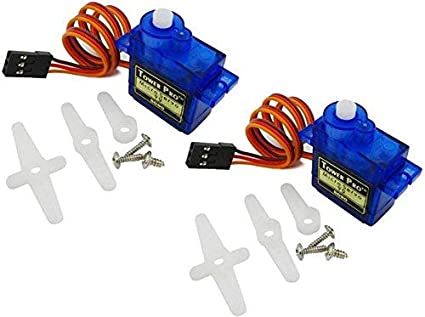
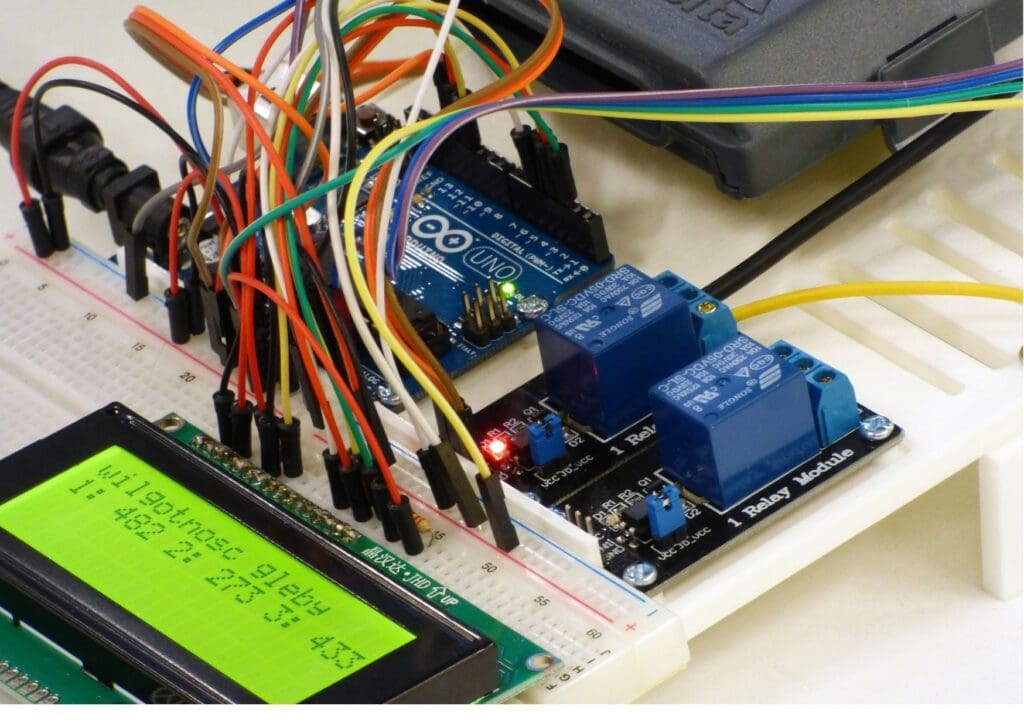
Here I am using SG90 micro servo. Arduino Uno board can drive this servo motor without additional power supply. But when you use more servo motor or another type of Servo motor I strongly recommend an additional power supply.
You can join our telegram group : mifratech.com. Any doubts, you can ask there.
You can see the Tinkercad simulation here
To Learn More Visit our Website
For more information:-www.mifraelectronics.com
CODE
Arduino Uno with Servo Motor Arduino
Connect the servo signal pin to Arduino Pin 3
#include<Servo.h>
Servo Myservo;
int pos;
void setup()
{
Myservo.attach(3);
}

void loop()
{


for(pos=0;pos<=180;pos++){
Myservo.write(pos);
delay(15);
}
  delay(1000);

  for(pos=180;pos>=0;pos--){
Myservo.write(pos);
delay(15);
}
  delay(1000);

}
I like the efforts you have put in this, regards for all the great content.
This was beautiful Admin. Thank you for your reflections.