


Getting Started with Breadboard: Prototyping Your Electronics Projects
Introduction :
Welcome to the captivating world of electronics prototyping through breadboarding. If you’re an electronics enthusiast, a hobbyist, or someone looking to bring their innovative ideas to life, breadboarding is a fundamental skill that can empower your projects. In this in-depth guide, Breadboard Basics A Guide to Prototyping Your Electronics Projects we’ll take you on a comprehensive journey into the art of breadboarding, unveiling its intricacies and equipping you with the knowledge and skills to embark on your electronics prototyping adventure.
Understanding Breadboarding :
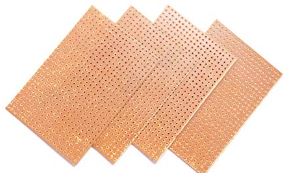
Breadboarding is the practice of creating and testing electronic circuits without permanent soldered connections. Picture it as an artist’s canvas, offering a platform for experimentation, testing, and refinement of your electronic designs. The term “breadboard” originates from the wooden boards with metal clips that were historically used for prototyping circuits.
• Why Breadboarding?
1. No Permanent Connections : In contrast to soldering, which creates permanent connections, breadboarding allows you to easily rearrange components and wires. This flexibility is invaluable for experimentation, rapid iteration, and troubleshooting.
2. Low-Risk Learning : Breadboarding offers a low-risk environment for learning electronics. You can make mistakes, learn from them, and iterate without the fear of damaging expensive components.
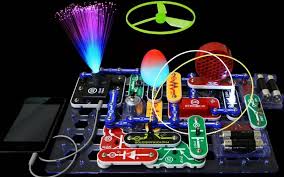
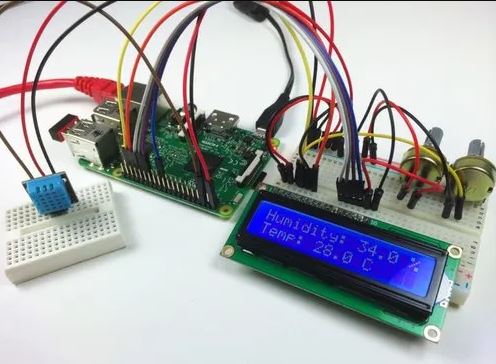
3. Visual Clarity : Breadboards provide an intuitively clear representation of your circuit layout. This visual clarity simplifies understanding and modifying circuits, making it an ideal choice for beginners and experienced engineers alike.
Getting Started
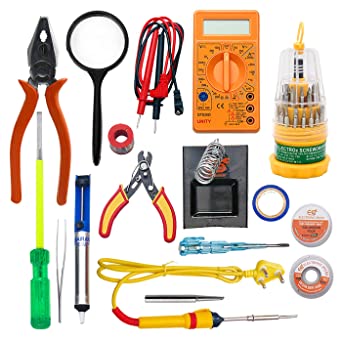
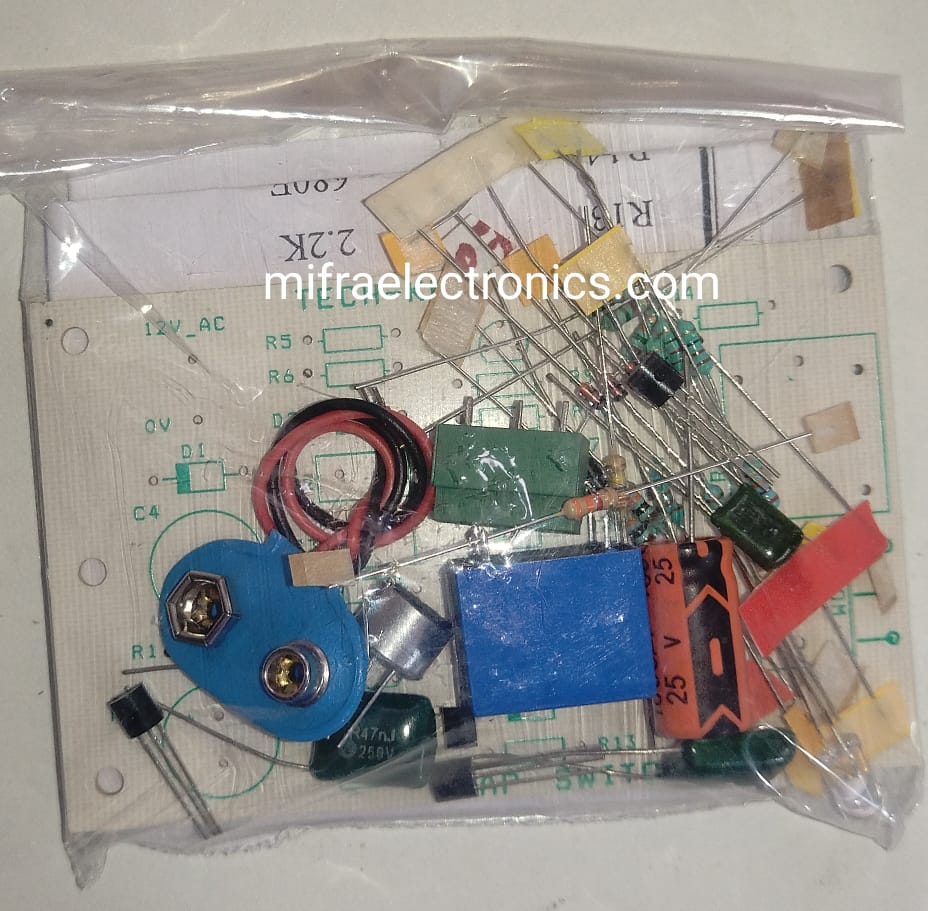
• Gathering Tools and Components
Before you dive into breadboarding, gather the necessary tools and components. Here’s a list of what you’ll need:
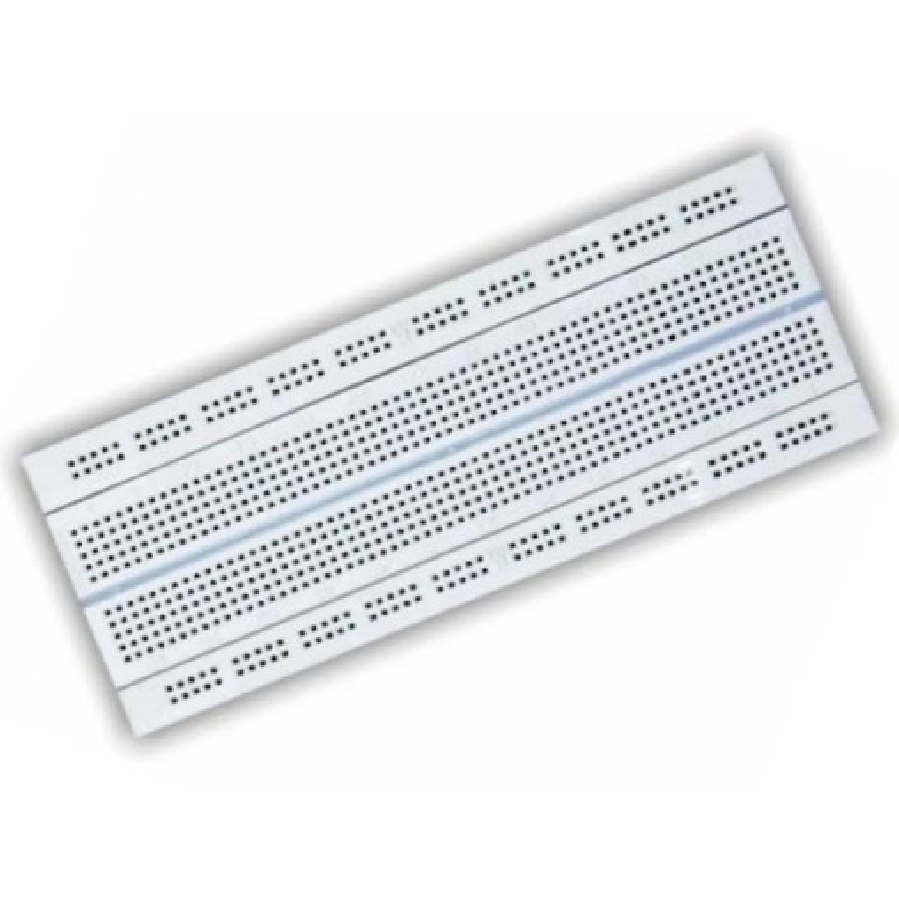
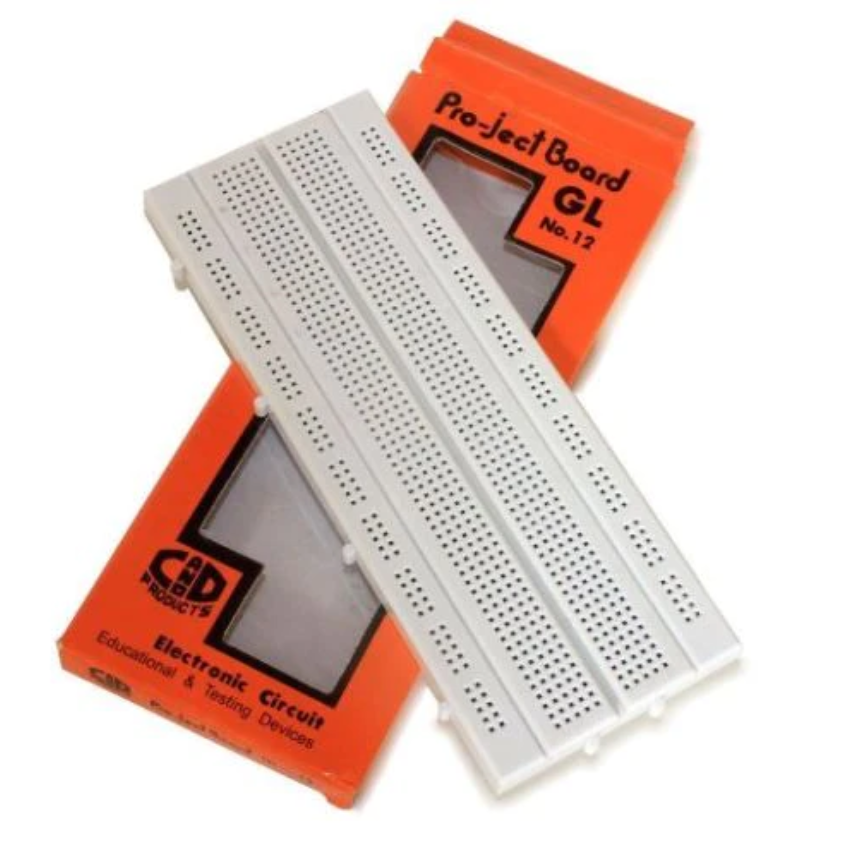
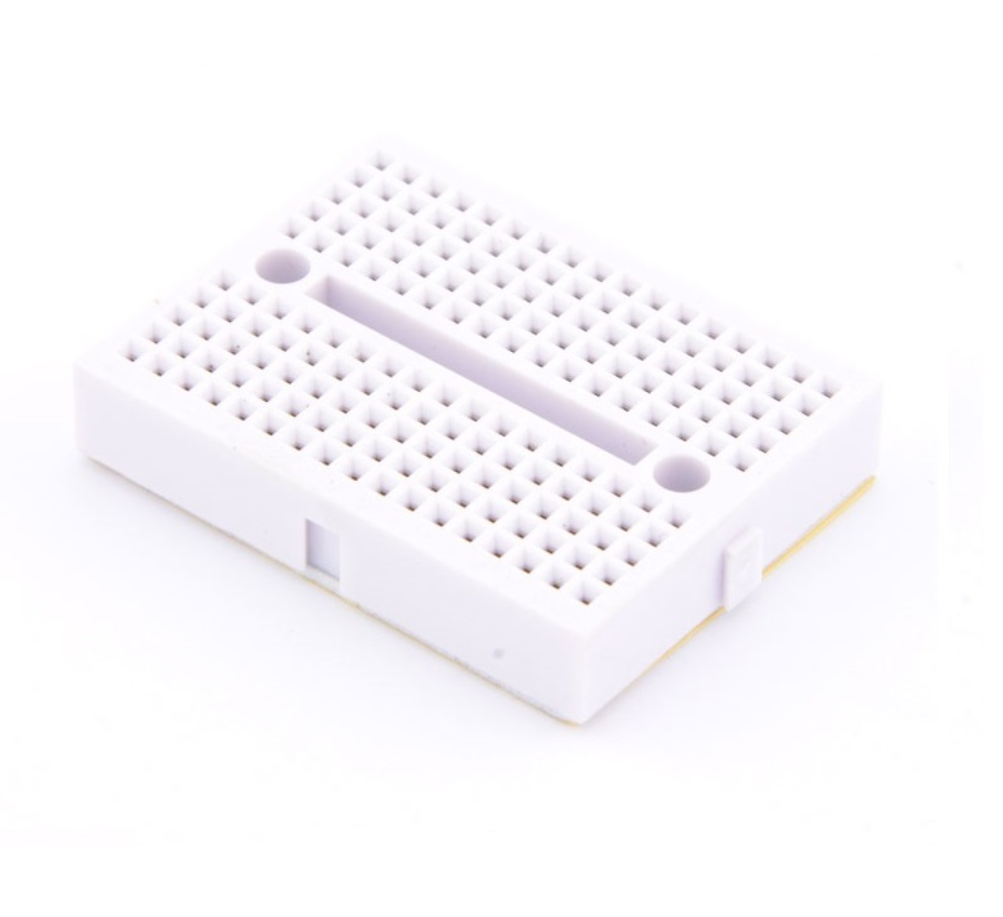
• Breadboard : The central piece of your setup.
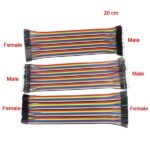
• Jumper Wires : To connect various components.
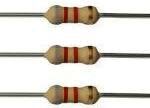
• Resistors : For limiting current and voltage division.
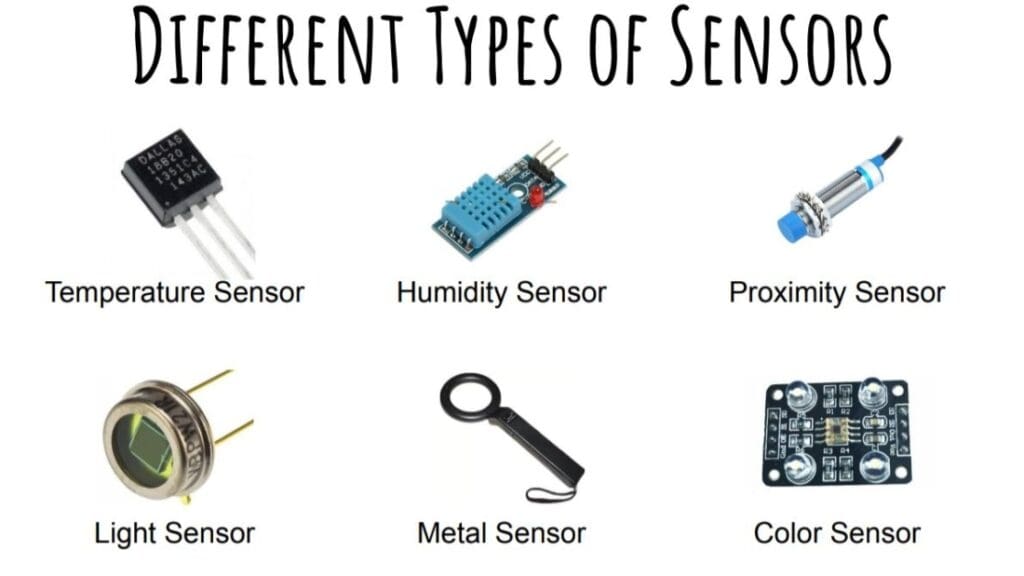
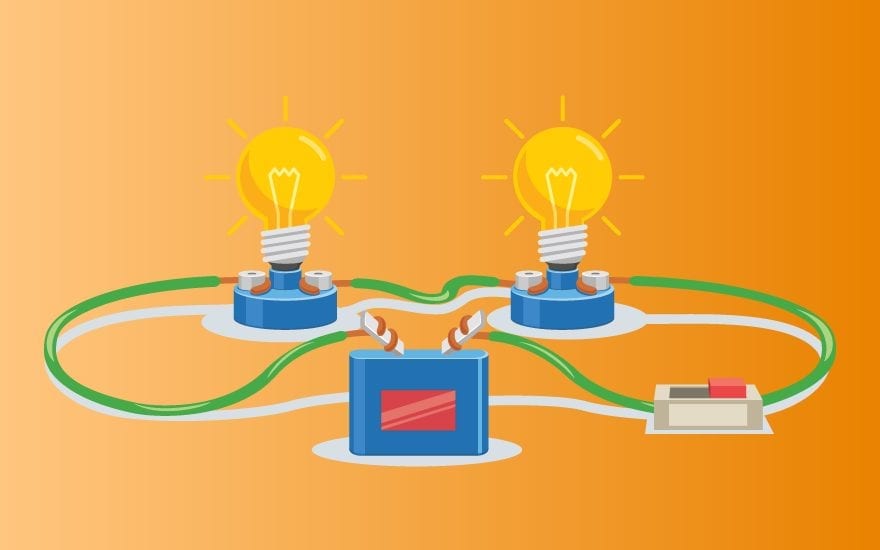
• LEDs (Light Emitting Diodes) : For visual indicators.
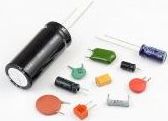
• Capacitors : To store and release electrical energy.
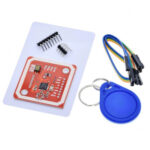
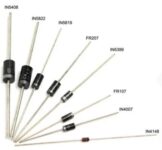
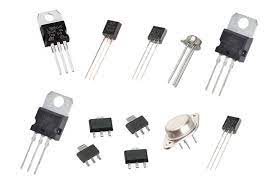
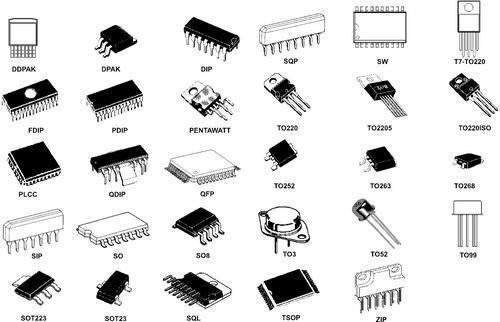
• Integrated Circuits (ICs) : For more complex functions.
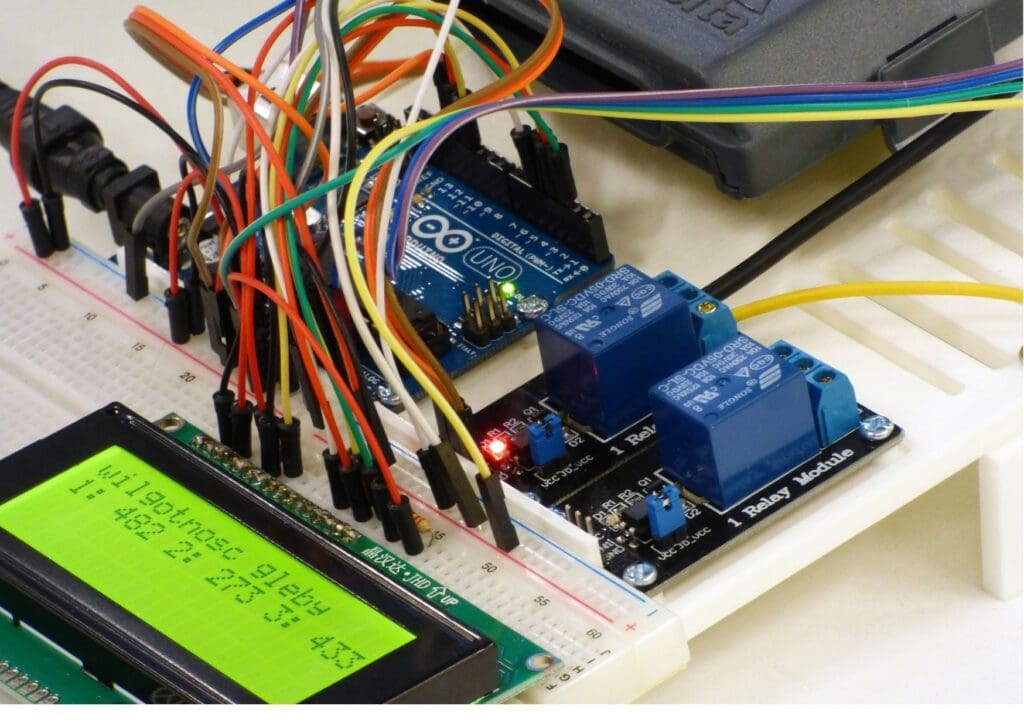
• Understanding the Breadboard
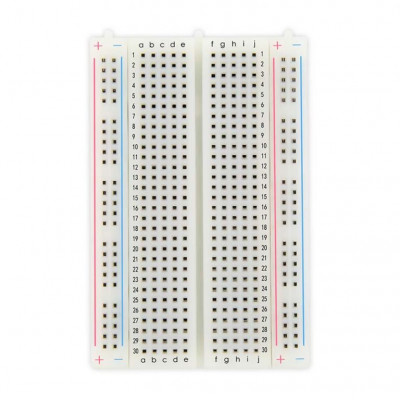
A standard breadboard comprises rows and columns of interconnected metal clips. Rows are usually labeled from A to J, and columns are numbered from 1 to 30 or more. Breadboard Basics A Guide to Prototyping Your Electronics Projects It’s crucial to understand how these connections work:
• Rows : Each row typically consists of five interconnected clips. Components are placed horizontally across these rows.
• Columns : Each column consists of five interconnected clips. Columns are used to create vertical connections between components.
• Power Rails
Most breadboards feature two long rows running along the edges, often colored red and blue. These are the power rails. The red rail is usually for positive voltage (VCC), while the blue rail is for ground (GND). Always connect your power sources (e.g., batteries or power supplies) to these rails.
• Component Placement
When inserting components into the breadboard, pay close attention to their polarity, which can significantly impact their functionality. For instance, LEDs have a longer leg (anode) and a shorter leg (cathode), which must be placed in the correct rows.
• Connecting Components
Jumper wires act as bridges between components on the breadboard. These wires can be easily plugged into the clips, allowing you to establish connections between various components. Different colors of jumper wires can help you visually organize your circuit.

Tips and Tricks
1. Start Simple : Begin with basic circuits, such as lighting an LED or creating a simple resistor network, before progressing to more complex projects. Building a strong foundation is key.
2. Documentation : Keep a detailed journal or digital notes of your circuits. Include schematics, component values, and any relevant observations. This documentation will prove invaluable for troubleshooting and replicating your projects in the future.
3. Online Resources : Leverage the vast array of online tutorials, forums, and communities dedicated to electronics enthusiasts. These resources are excellent for seeking guidance, asking questions, and sharing experiences with like-minded individuals.
4. Experiment and Iterate : The true magic of breadboarding lies in experimentation. Don’t be afraid to try different component combinations and circuit designs. It’s through experimentation that you’ll truly understand electronics.
5. Safety First : While breadboarding is low-risk, it’s essential to practice electrical safety. Ensure that your power sources are well within their voltage and current limits, and avoid handling live circuits with wet hands.
Advanced Breadboarding
Once you’ve mastered the basics of breadboarding, you can delve into more advanced techniques:
1. Prototyping with ICs
Integrated Circuits (ICs) are the building blocks of modern electronics. Learning how to incorporate ICs into your breadboarded circuits opens up a world of possibilities. Begin with simple ICs like timers and counters before moving on to more complex microcontrollers.
2. Signal Conditioning
Signal conditioning involves preparing analog signals for processing by electronic systems. This can include amplification, filtering, and modulation. Breadboarding signal conditioning circuits helps you interface with sensors and control systems effectively.
3. Design Considerations
As your projects become more intricate, you’ll need to consider factors like power distribution, noise mitigation, and component placement. Learning proper design techniques is crucial for building reliable and functional circuits.
4. Breadboard Compatibility
Not all components and circuits are breadboard-friendly. Some may require additional adapters or breakout boards. Understanding how to adapt non-standard components for breadboarding is a valuable skill.
Conclusion
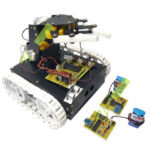
Breadboarding is the gateway to bringing your electronic dreams to life. Whether you aspire to design a digital thermometer, Breadboard Basics A Guide to Prototyping Your Electronics Projects an LED matrix display, or a robotic marvel, mastering the art of breadboarding will save you time, money, and frustration. It’s a skill that empowers you to explore, experiment, and innovate in the world of electronics. Remember, practice is key. Dive in, experiment, and let your creativity flow through the wires of your breadboard. Happy prototyping!
To Learn More Visit our Website MifraTech
For more information:-visit our website MifraElectronics